How to Create a QR Code Menu for Your Restaurant (2026 Step-by-Step)

QR menus let customers view your menu by scanning a code with their phone. No app download, no paper menus to update. This guide shows you how to create one from scratch in under 15 minutes.
What Makes a Good QR Menu?
A well-designed QR menu loads instantly and looks great on mobile
Before creating your menu, understand what customers expect:
- Fast loading — Mobile-optimized design
- Photos for every item — Visual menus convert better
- Clear pricing — Including variations (sizes, options)
- Multiple languages — For international visitors
- Updated information — Digital menus should always be current
The best part? When you change your digital menu, the QR code stays the same. Print once, update forever.
Step 1: Create Your Account
 Most QR menu builders offer free accounts to start
For this tutorial, we'll use Appetito Menu, but the process is similar across platforms. Alternatives include Fuudey, Menu Tiger, and QR Menu Creator — see our full comparison of free QR menu generators.
- Go to your chosen QR menu platform
- Create a free account
- Log in to access the menu builder
Step 2: Add Your First Category
 Categories organize your menu into logical sections
Categories structure your menu (like "Steaks," "Seafood," "Drinks"):
- Open the Menu tab in your dashboard
- Click Add Category
- Enter the category name (e.g., "Steaks")
- Add an optional description (e.g., "Our Best Sellers")
- Save the category
Repeat for all your menu sections. You can reorder categories later.
Step 3: Add Products to Categories
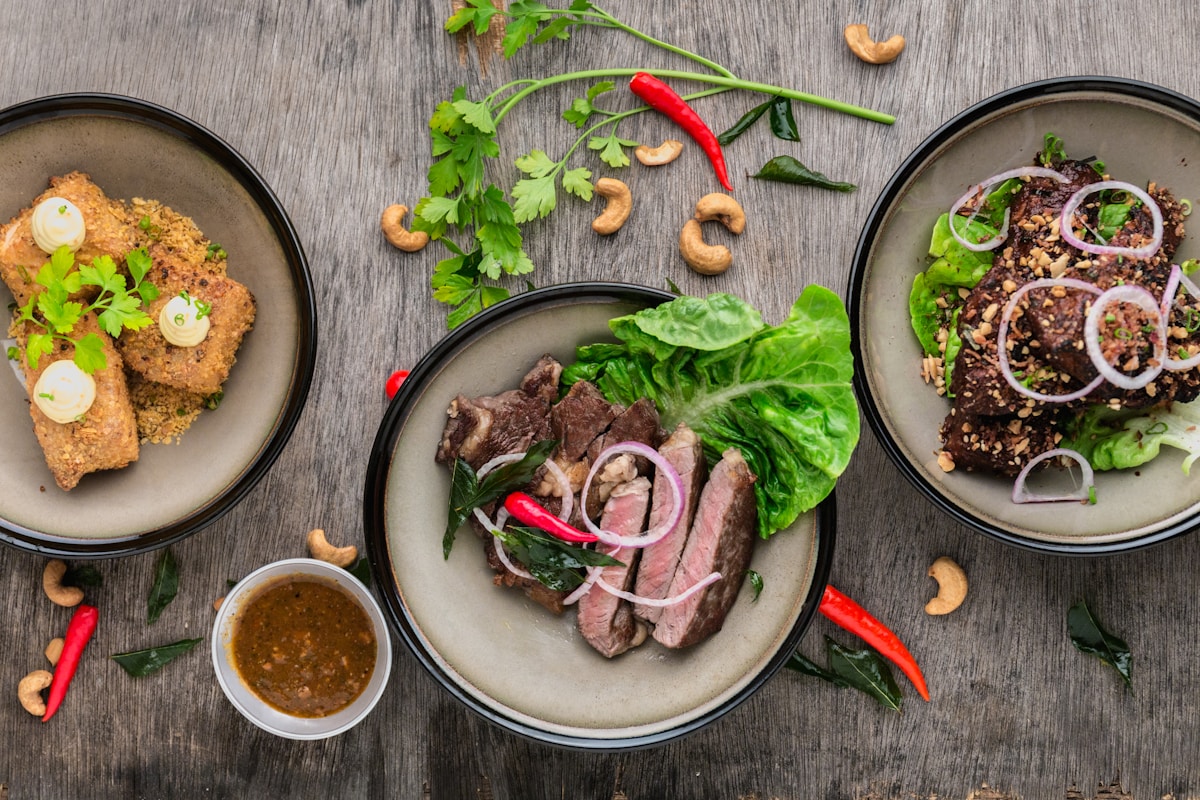
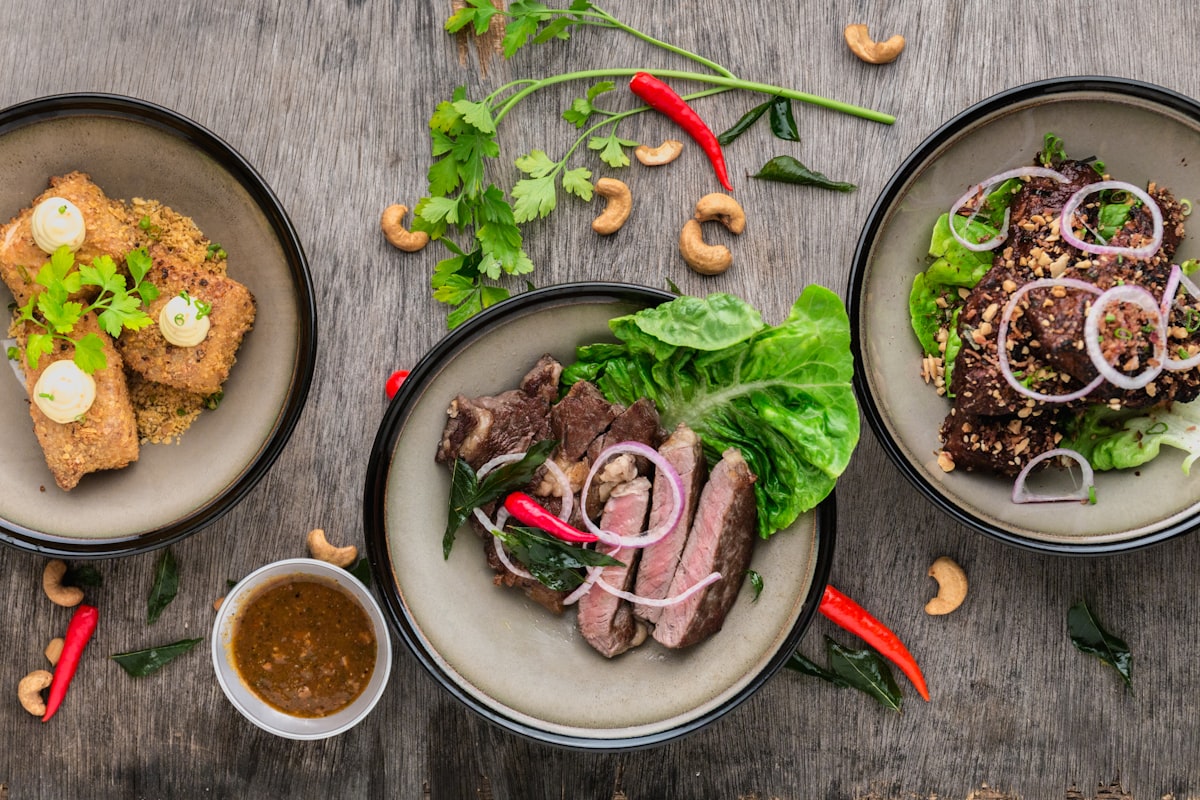
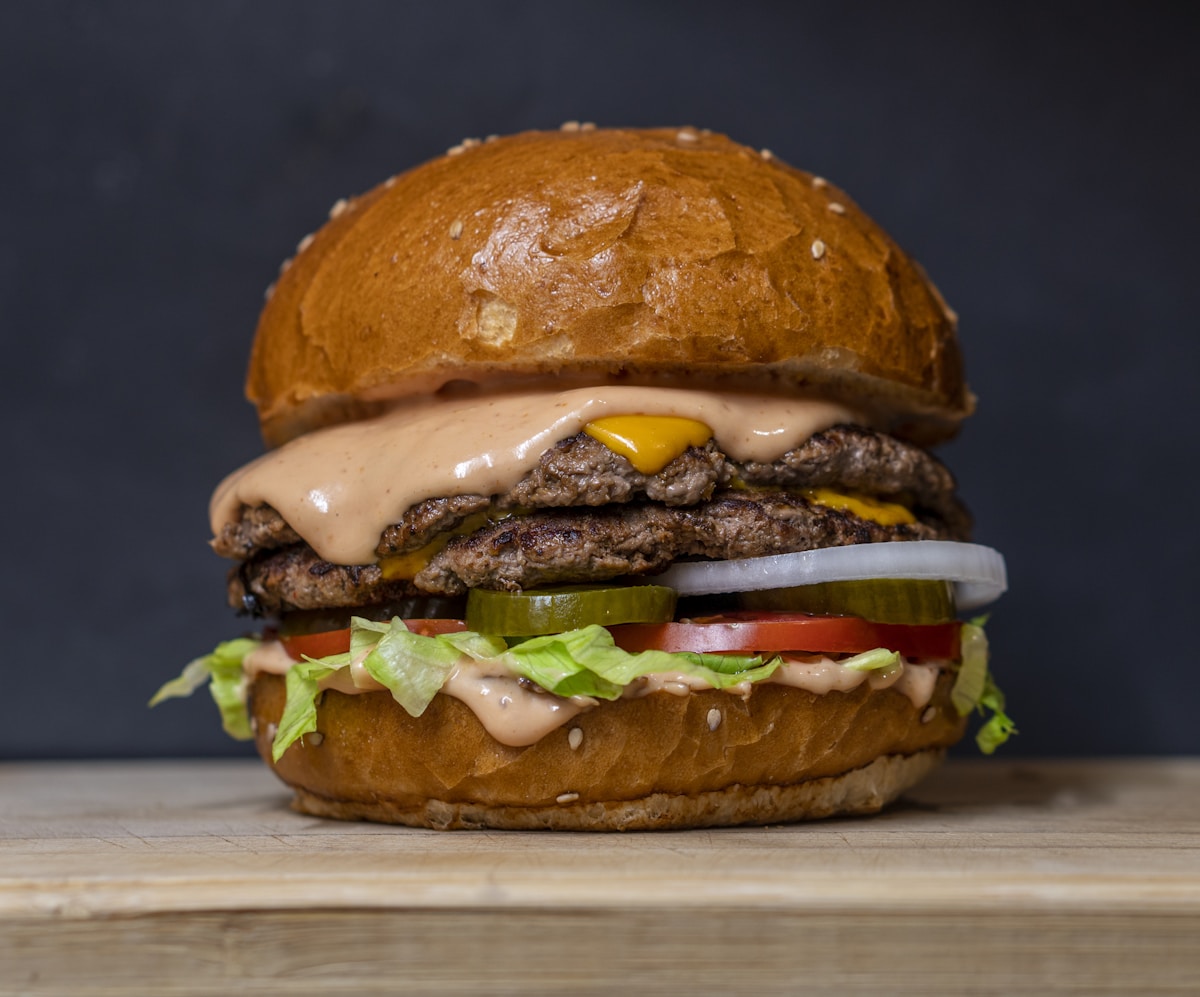 Every item should have a high-quality photo
Now add items to each category:
- Click Add Product within a category
- Enter the product name
- Set the price
Single Price vs. Multiple Prices
If you have one price:
- Just enter the price — no variation name needed
For multiple prices (sizes, portions):
- Enter variation name: "300g" with price "45"
- Add another: "600g" with price "75"
Adding Product Details
For each product, you can also add:
- Product image — Upload or select from library
- Allergen information — Dairy, nuts, gluten, etc.
- Dietary tags — Vegetarian, vegan, spicy
- Badges — "New," "Best Seller," "Chef's Pick"
- Description — Ingredients, preparation notes
Apply formatting like bold or italic for emphasis in descriptions.
Step 4: Customize Your Menu Design
 Custom branding makes your menu look professional
Make your digital menu match your brand:
Banner Image
- Go to Restaurant Settings → Appearance
- Upload a banner image (restaurant photo, logo, or branded graphic)
- This appears at the top of your menu
Color Scheme
- Choose your primary brand color
- Enter a hex code or use the color picker
- Colors apply to buttons, highlights, and accents
Restaurant Information
- Go to About settings
- Add restaurant description
- Set opening hours
- Enter your address
This information appears when customers tap the info icon.
Step 5: Preview Your Menu
 Always preview on mobile before publishing
Click Preview to see how customers will experience your menu:
- Check category navigation
- Tap through product cards
- Verify images load properly
- Test the allergen and info displays
Make adjustments based on what you see. The preview updates in real-time.
Step 6: Add Multiple Languages (Optional)
 Multi-language support helps international visitors
If you serve customers who speak different languages:
- Go to Restaurant Settings
- Click Add Language
- Select languages (e.g., Arabic, Spanish, French)
- Save settings
Now when editing categories and products, you'll see input fields for each language.
How Language Switching Works
- Menu defaults to the customer's device language
- Customers can manually switch languages via a toggle
- All content — names, descriptions, info — translates
Step 7: Get Your QR Code
 Print QR codes for each table or at the entrance
Go to the QR Code tab to access your printable codes:
- Download the QR code image
- Print and place on tables
- Optionally add a frame or call-to-action text
Important: The QR code never changes. You can edit your menu as many times as needed — customers scanning the same code always see the latest version.
Where to Place QR Codes
- On each table — Most common placement
- At the entrance — For waiting customers
- On receipts — Encourage return visits
- In your window — Let passersby browse
Step 8: Share Your Menu Link
 Multiple ways to share your digital menu
Besides QR codes, you get a direct URL to your menu:
- Add to Google Maps listing
- Share on Instagram bio
- Include in email signatures
- Post on Facebook page
Anyone clicking the link sees your full digital menu.
Advanced Features
 Unlock powerful analytics and customization
Analytics
Most QR menu platforms track:
- Number of menu views
- Popular items
- Language preferences
- Peak viewing times
Use this data to optimize your menu and identify best-sellers.
Tablet Mode
Some platforms offer a tablet menu mode for:
- Digital menu boards
- Self-service kiosks
- In-restaurant displays
Feedback Forms
Collect customer feedback directly through your digital menu:
- Satisfaction ratings
- Comments and suggestions
- Contact information (optional)
QR Menu Platform Comparison
 Comparing popular QR menu solutions
| Platform | Free Tier | Languages | Ordering | Best For |
|---|---|---|---|---|
| Fuudey | ✓ Yes | Multiple | ✓ Yes | Full ordering |
| Appetito | ✓ Yes | Multiple | ✗ Menu only | Simple menus |
| Menu Tiger | ✓ Yes | Multiple | ✓ Yes | QR ordering |
| QR Menu Creator | ✓ Yes | Limited | ✗ No | Basic menus |
For detailed comparison, see our free QR menu generator guide.
Common QR Menu Mistakes
 Pitfalls to avoid with your QR menu
Avoid these pitfalls:
- Low-quality photos — Blurry images hurt conversions
- Missing prices — Customers want to know costs upfront
- Outdated items — Digital menus should always be current
- No description — Explain what makes dishes special
- Tiny QR codes — Print large enough for easy scanning
Frequently Asked Questions
 Common questions about QR code menus
Do customers need to download an app?
No. QR menus open directly in the phone's web browser. No app installation required.
What if customers don't have smartphones?
Keep a few paper menus as backup for customers who prefer them or don't have phones.
Can I accept orders through the QR menu?
Some platforms (like Fuudey and Menu Tiger) include ordering. Others are view-only digital menus. Check before choosing a platform.
How much does a QR menu cost?
Many platforms offer free tiers with basic features. Premium features (ordering, advanced analytics) typically cost $9-79/month.
Can I use my QR menu with my existing POS?
QR menus are standalone. For integrated solutions, see our POS comparison — some POS systems include native QR ordering.
Conclusion
 QR menus modernize your restaurant without major investment
Creating a QR menu takes about 15 minutes:
- Sign up for a QR menu platform
- Add categories and products
- Upload photos and details
- Customize design and branding
- Add languages if needed
- Download and print QR codes
The biggest advantage? Update your menu anytime without reprinting codes. Prices change, items sell out, seasonal specials come and go — your digital menu always stays current.
For complete QR ordering (not just viewing), check our free QR menu generator comparison. For full POS integration, see our restaurant POS systems guide.
More Articles
AI-Powered Restaurant Inventory Forecasting: Reduce Waste and Boost Profits
Discover how AI inventory forecasting predicts demand, optimizes orders, and reduces food waste. Machine learning tools for smarter restaurant inventory management.
Appetito Menu Review: Multilingual QR Menus for Restaurants
Complete Appetito Menu review covering multilingual QR menu features, pricing, setup process, and how it compares to Fuudey, Menu Tiger, and alternatives.
Best Free QR Code Menu Generator in 2025 (7+ Reviewed)

We tested 8 free QR code menu generators including Fuudey, QR Menu Creator, Menuu, ScanIt.menu, and more. Full comparison with pricing, features, and honest reviews.