How to Set Up Square for Restaurants Menu (2026 Step-by-Step Tutorial)

Setting up your menu correctly in Square for Restaurants transforms how efficiently your staff can take orders. This tutorial walks through every step, from creating your first menu to building an optimized checkout layout.
What You'll Need Before Starting
 Square for Restaurants runs on iPads and Android tablets
Before configuring your menu, make sure you have:
- A Square for Restaurants account (free tier available)
- Your food and drink items already added to the system
- Your menu categories planned out
- Item photos (optional but recommended)
If you haven't added your products to Square yet, do that first. You'll be selecting from existing items when building your POS menu.
Step 1: Create Your First Menu
 Your menu determines what staff see on the POS home screen
The Square Restaurant POS menu is what your staff will use to find and select items during checkout. Here's how to create one:
- Open the Menu tab in your Square Dashboard
- Click Create New Menu
- Choose the Manual option for custom setup
- Give your menu a name (e.g., "Main Menu" or "Lunch Service")
- Select the location where this menu applies
With the menu created, you're ready to start adding items to your POS home screen.
Step 2: Add Items to Your POS Layout
 Each item you add appears as a button on your POS screen
Now you'll populate your menu with items that appear on the checkout screen:
- Click Add Item from your menu editor
- Select any item from your existing product catalog
- A modal appears showing pricing and category details
- Optionally set a button color for this item
- Click Save to add it to your POS home screen
Repeat this process for each item you want accessible from the main checkout screen. The goal is building a layout where staff can quickly find and select the most common orders.
Step 3: Create Display Groups (Folders)
 Display groups organize items into logical categories on your POS
If you have many menu items, adding each one to the home screen gets messy. Display groups work like folders — they organize related items together.
Creating a Display Group
- Navigate to Display Groups in your menu settings
- Click Create New Group
- Give it a descriptive name (e.g., "Hot Drinks," "Appetizers," "Desserts")
- Choose a color to help staff quickly identify the category
- Save the group
The group now appears on your homepage list with a gray highlight. Any items added to this group appear below in the white space.
Nesting Groups Inside Groups
For complex menus, you can put groups inside other groups:
- Edit an existing group
- Use the checkboxes to select which parent group it should appear in
- This creates a drill-down navigation to specific categories
Example structure:
- Drinks (top-level group)
- Hot Drinks
- Cold Drinks
- Smoothies
- Food (top-level group)
- Appetizers
- Mains
- Desserts
When staff tap a top-level group, they see the nested groups inside.
Step 4: Organize Your Layout with Grid Editor
 The grid editor lets you drag and drop tiles for the perfect layout
Square's grid editor gives you precise control over button placement:
- Click the Grid Editor section in your menu settings
- You'll see a visual representation of your POS home screen
- Drag and drop tiles to rearrange your layout
- Move frequently-used items to easy-to-reach positions
- Click Save when finished
The changes appear immediately on your POS tablet.
Customizing Button Sizes
You can also adjust button sizes for better visibility:
- Wide — Spans two columns
- Small — Standard single tile
- Tall — Spans two rows
Use larger buttons for your best-selling items.
Step 5: Create Multiple Pages
Multiple pages let you organize items without crowding the screen
For extensive menus, create multiple pages within your layout:
- In the layout options, look for the page selector
- Click the plus icon within any square to add items to a new page
- Move groups and items between pages as needed
- Build each page's layout independently
Staff can switch between pages by swiping up or down on the tablet. This keeps the interface clean while maintaining access to your full menu.
Step 6: Set Up Modifiers
 Modifiers let staff customize orders during checkout
Modifiers are options customers can add to menu items — like milk choice for coffee or temperature for steaks. Here's how to create them:
Creating a Modifier Set
- Navigate to Modifiers in your menu settings
- Click Create New Modifier Set
- Name it descriptively (e.g., "Milk Options," "Steak Temperature")
- Enter each modifier choice with its name and price adjustment
- Save the set
Single-Select vs. Multi-Select
Control how many options staff can choose:
- Single-select — Customer picks ONE option (e.g., steak temperature)
- Multi-select — Customer can pick MULTIPLE options (e.g., pizza toppings)
Toggle this setting within each modifier set based on your needs.
Assigning Modifiers to Items
Once created, assign modifiers to relevant items:
- Edit the modifier set
- Check the items that should use this modifier
- The same modifier can apply to multiple items
When staff select an item during checkout, the modifier options appear automatically.
Step 7: Add Item Variations
 Variations handle different sizes or versions of the same item
Variations cover things like sizes (Small, Medium, Large) or versions (Regular, Extra Hot):
- Navigate to any item
- Select Edit Variations
- Enter each variation name and price adjustment
- Add as many as needed
- Save
When staff click an item with variations, they see all options on screen with correct pricing.
Step 8: Create Multiple Menus (Optional)
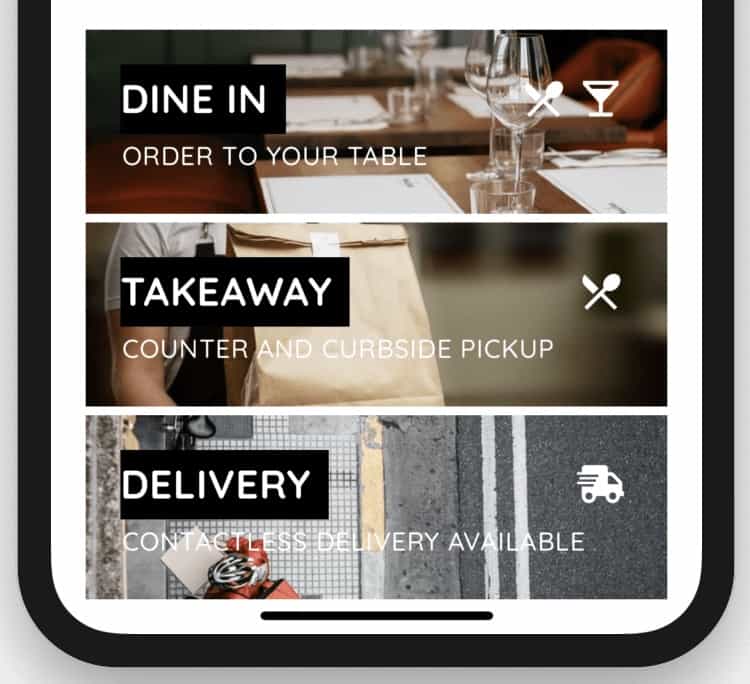
 Create separate menus for different service types
For complex operations, create separate menus for different purposes:
- Dine-In Menu — Full menu for seated customers
- Bar Menu — Drinks and bar snacks only
- Quick Service — Grab-and-go items
Staff can switch between menus directly from the POS home screen. Each menu can have its own layout and item selection.
Tips for Optimizing Your Square POS Layout
 Optimize your Square POS layout for maximum efficiency
High-Volume Items First
Put your most-ordered items in the top-left positions. Staff naturally look there first.
Color Code Strategically
- Green for food items
- Blue for drinks
- Yellow for specials or combos
- Red for items requiring kitchen attention
Test Before Service
Before a busy shift, have staff test the layout. Watch where they hesitate or struggle to find items.
Update Regularly
Remove seasonal items when they're unavailable. Add new menu items in logical positions.
Frequently Asked Questions
 Common questions about Square for Restaurants menu setup
Can I use Square for Restaurants on Android?
Yes, Square works on both iOS and Android tablets. The interface is identical on both platforms.
How much does Square for Restaurants cost?
Square offers a free tier for basic restaurant POS. Paid plans start at $29/month for advanced features.
Can I add QR code ordering to Square?
Square has built-in online ordering, but for tableside QR ordering, you'll need an integration. Fuudey offers free QR menu generation that works alongside Square. See our QR menu generator comparison.
What if I need to switch from another POS to Square?
Square offers data migration tools and customer support for switching. Most restaurants can transition within a few days to a week.
Does Square work offline?
Square has limited offline functionality. It can accept cards offline, but transactions process when connectivity returns.
Conclusion
 A well-organized POS layout speeds up service and reduces errors
Setting up your Square for Restaurants menu correctly pays dividends in faster service and fewer order errors. Start simple — add your most popular items, organize them into logical groups, and refine based on how staff actually use the system.
The key is building a layout that matches how your team thinks about your menu. Color-code categories, position high-volume items prominently, and use modifiers to handle customizations without cluttering the main screen.
For more restaurant technology guides, see our POS system comparison or learn about free QR menu options to complement your Square setup.
More Articles
AI-Powered Restaurant Inventory Forecasting: Reduce Waste and Boost Profits
Discover how AI inventory forecasting predicts demand, optimizes orders, and reduces food waste. Machine learning tools for smarter restaurant inventory management.
Appetito Menu Review: Multilingual QR Menus for Restaurants
Complete Appetito Menu review covering multilingual QR menu features, pricing, setup process, and how it compares to Fuudey, Menu Tiger, and alternatives.
Best Free QR Code Menu Generator in 2025 (7+ Reviewed)

We tested 8 free QR code menu generators including Fuudey, QR Menu Creator, Menuu, ScanIt.menu, and more. Full comparison with pricing, features, and honest reviews.